How to Create Events
Once you’ve logged into the LiveWhale system, you’ll see three tabs (Your Events, +New, and Toolbox) at the top of the page. Click on “+New” to create a new event. You will see this screen:

Enter A Title For Your Event
Your title should be as descriptive and succinct as possible. For more information about writing titles, please visit How to Title Your Events.
Event Date & Time
You have several options after you select the start date for your event.
- “All Day” - for events that are in fact all-day events.
- Add ending date & time.
- Repeating Event - There are options for daily, weekly, monthly, and yearly events, with an additional range of options.
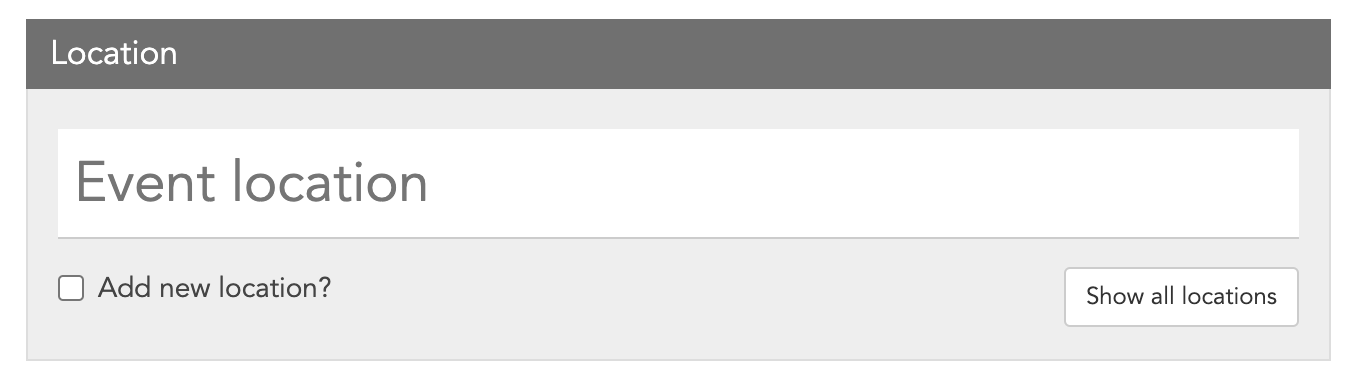
Event Location
For in-person events, select your location from one of the two location drop-down menus. If you can't find your event listing in either column, you will want to select “Add new location” and make sure your event description includes the event location.
If you would like your event location to be considered for addition on the calendar drop-down menu, please email the following information to itservices@uchicago.edu.
- Name of the location
- URL of the location on maps.uchicago.edu
- If your building is not found on maps.uchicago.edu, please include a building name and building address
For virtual events, check the box ‘This is an online event’ to open the rest of the window. Here, you can add your virtual meeting URL (such as a Zoom or Teams link), edit the ‘Join Event’ text, and add any special instructions. You should also select whether the event is online only or hybrid–with an in-person option–at the bottom of the window. If your event is hybrid, you should also fill out the in-person location as noted in the instructions above.
Event Status

Events may be posted as Live or Hidden; Hidden events are never shown on public calendars, and are thus useful for events you’re working on but aren’t ready to promote yet.
Note: You can leave the default status of “Not archived” unless, once the event is over, you don’t want anyone to be able to navigate to the event through search. If that is the case, change the drop-down menu to ‘Archived.’
Registration Link
For in-person events only, if your event has an external page for event registration, enter the URL and text label (default label is “Register”) in these fields.
These fields are used if your in person event has an external page for event registration. You may also use the "RSVP” section located further down the event builder to add a registration form to your LiveWhale calendar event.
Event Types
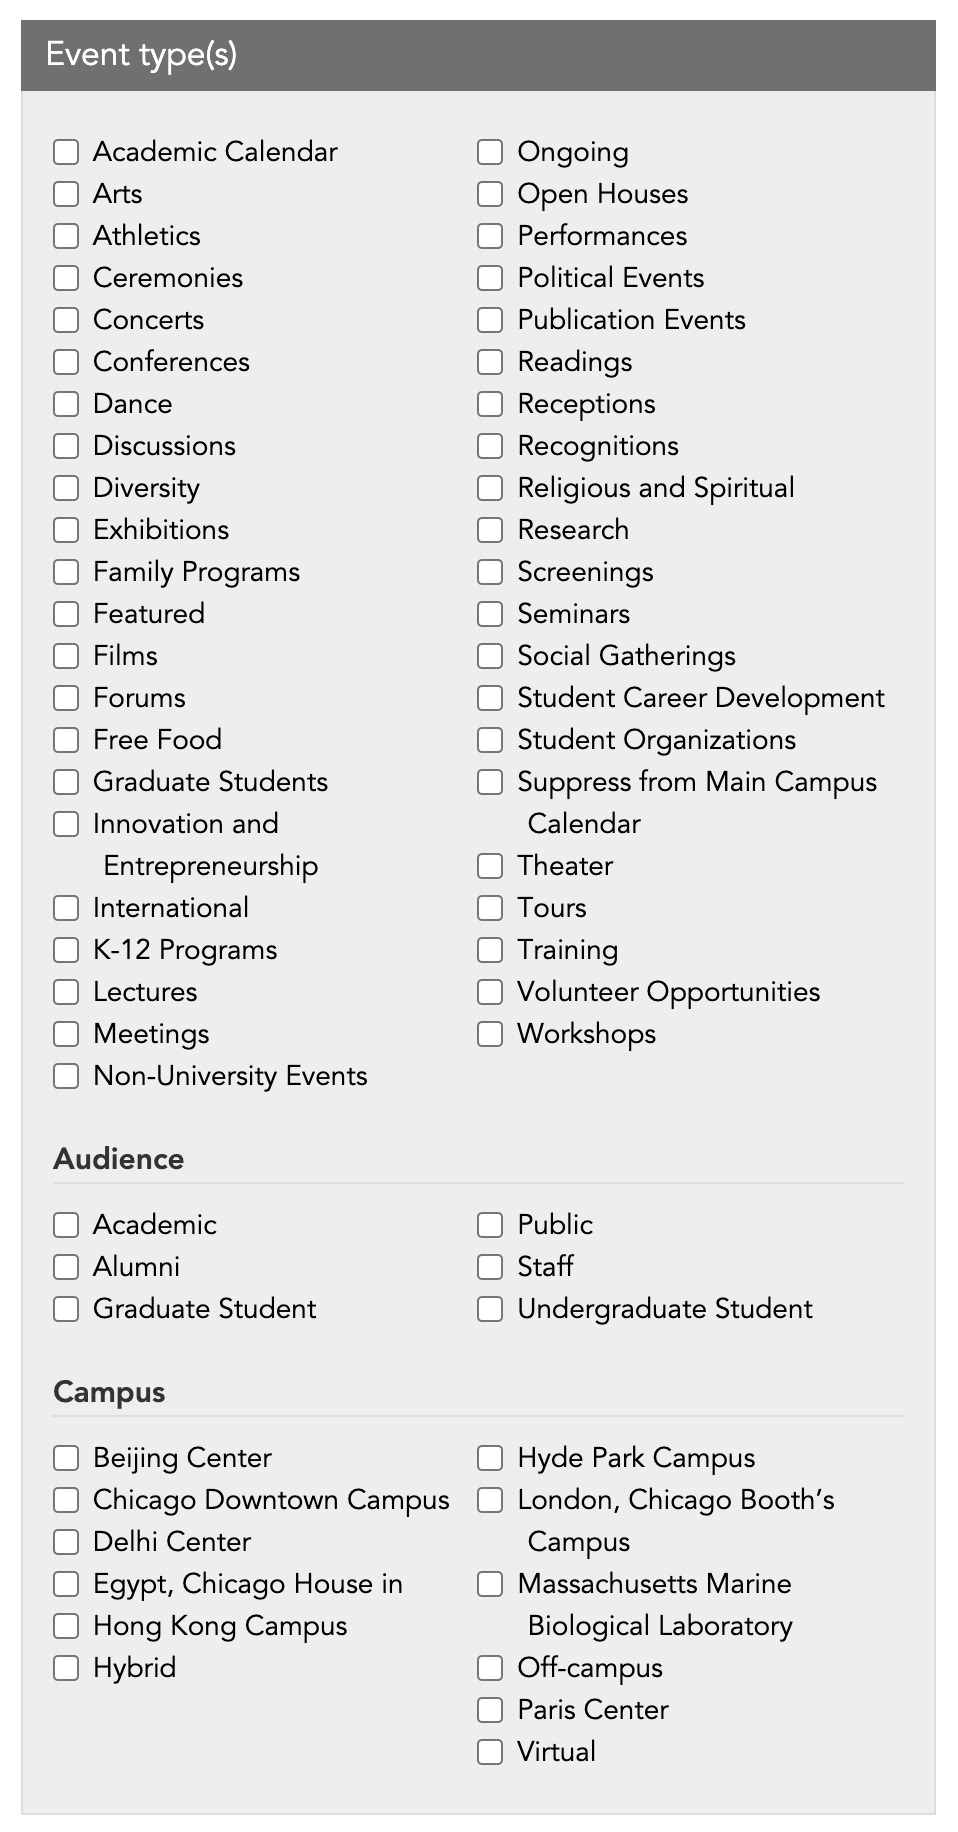
These are used to narrow down search results and allow users to find your events more easily. It’s important that you select the event type for every event that you submit. You may choose as many as you wish.
Select the event types that are appropriate for your event. This list is the same for all calendar users.
Audience
It is highly recommended to always select the appropriate audience(s) for your event in order to clarify for others where an event should be promoted. You can select as many audiences that are relevant to your event.
Campus
We also recommend that you always select a campus or campuses, if relevant, to assist with the filtering process for users.
Tags
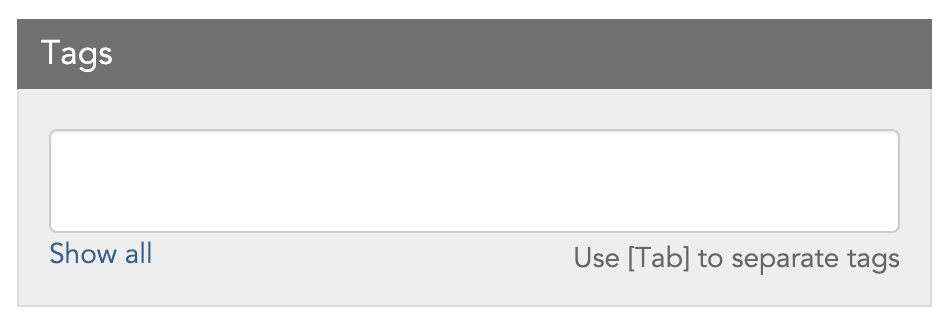
Tags are keywords that help categorize your event. Tags are often used with event widgets— to create a list for a specific subset of your events— so you should think of tags as an additional organizing tool for your calendar. For example, if you have an event series, you can add the name of the event series as a tag.
Event Details
In lieu of an event description, you can choose to link to another site for event information. If selected, the link on your calendar or event widget will lead not to a calendar details view, but to this link instead. This is helpful if you have more event details in an outside system, such as Eventbrite, but also want to feature your event on the University-wide calendar for others to see. To select this option, click on ‘link to another site for event information’ located to the right of ‘Add event details.’

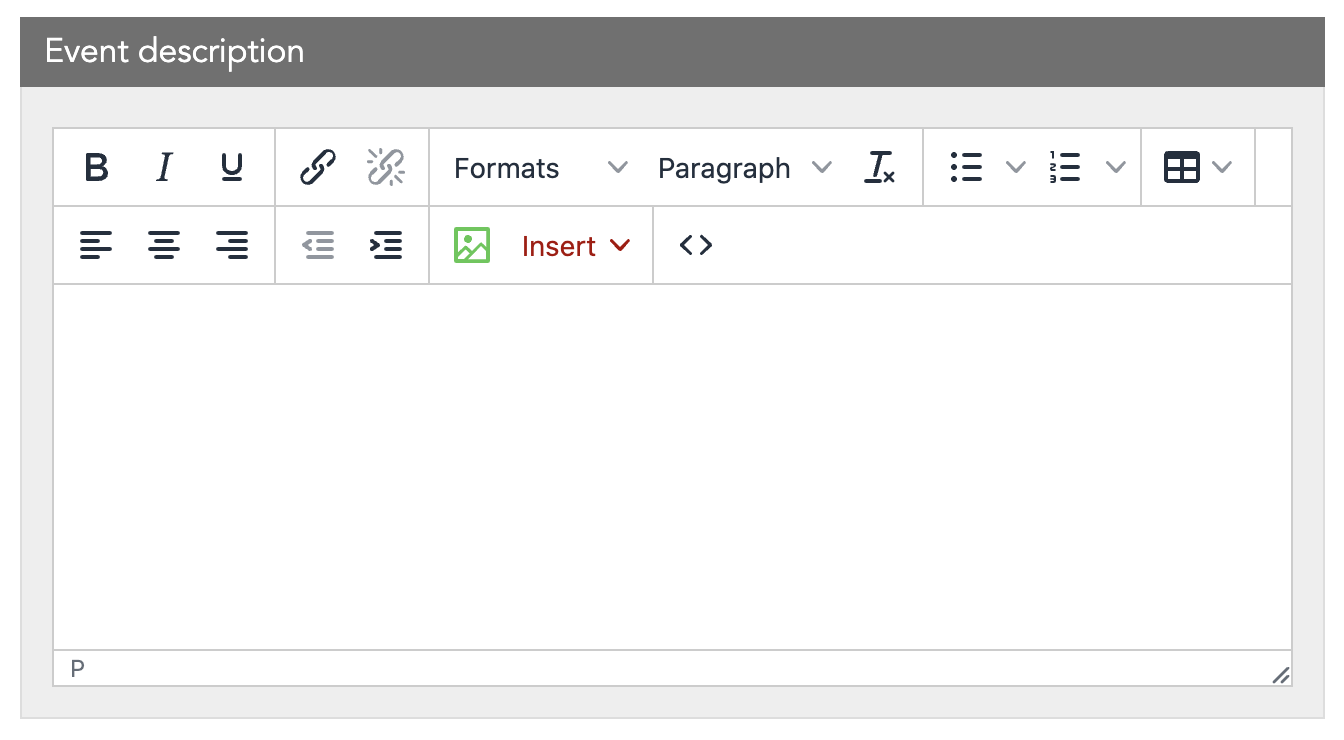
Event Description
If you are not linking to an outside site, enter an event description of any length. A number of text formatting tools are available, and you can also add images and video to the event description.
Related Content
Related content is a great way to give an event more context. You can link to a webpage (say, the resume or portfolio page of a featured speaker, or perhaps a news story about the event) or to one of your other events.

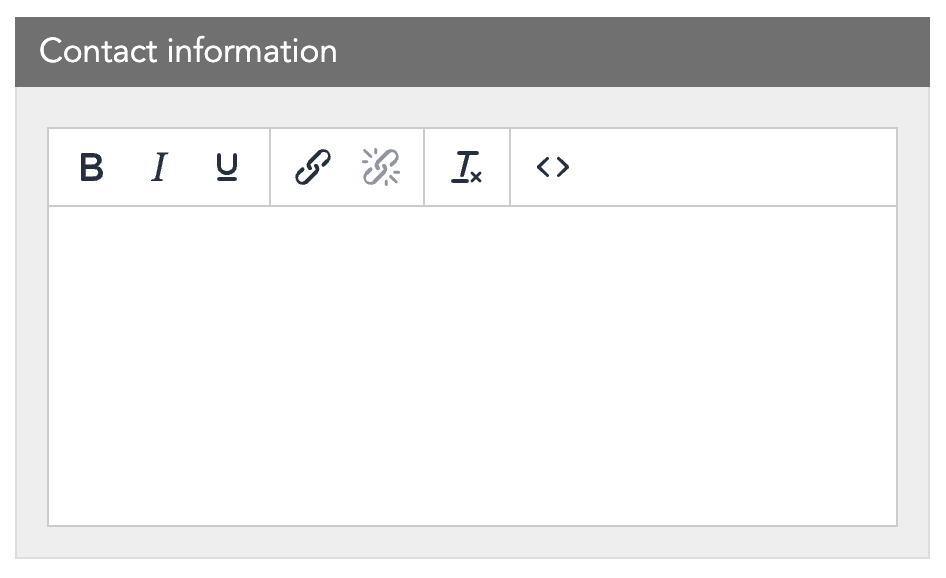
Contact Information
Contact information is optional but extremely useful for people wanting more information about your events including other Calendar Group Administrators who may want to promote your event on their own platforms. We recommend that you always add contact information when possible.
If you always use the same contact info on your events, default contact info can be stored in your group settings (your Calendar Group Administrator can add that).
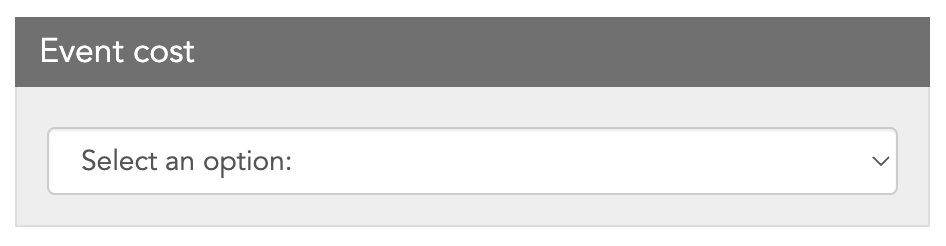
Event Cost
Four drop-down options are included for Event cost: Free, Event Cost (including a field to enter any dollar amount), Suggested Donation (also including a dollar amount field), and Other (including an open-ended text field).
RSVP
LiveWhale features an internal RSVP system that will allow you to manage your event attendees and set an automatic event reminder and follow-up communication.
To learn more about the RSVP feature, please refer to How to Set Up and Manage RSVPs.
Sharing And Privacy
Share To Other Calendars
If you’d like your event to be featured on the University of Chicago homepage, the University of Chicago Intranet, or on other existing group calendars, you can either check the box for the University of Chicago homepage or begin typing the name of the calendar in the text box, which will prompt existing calendars to populate.
For more information about suggesting events to other groups, see How to Share and Feature Your Events.

Privacy Options
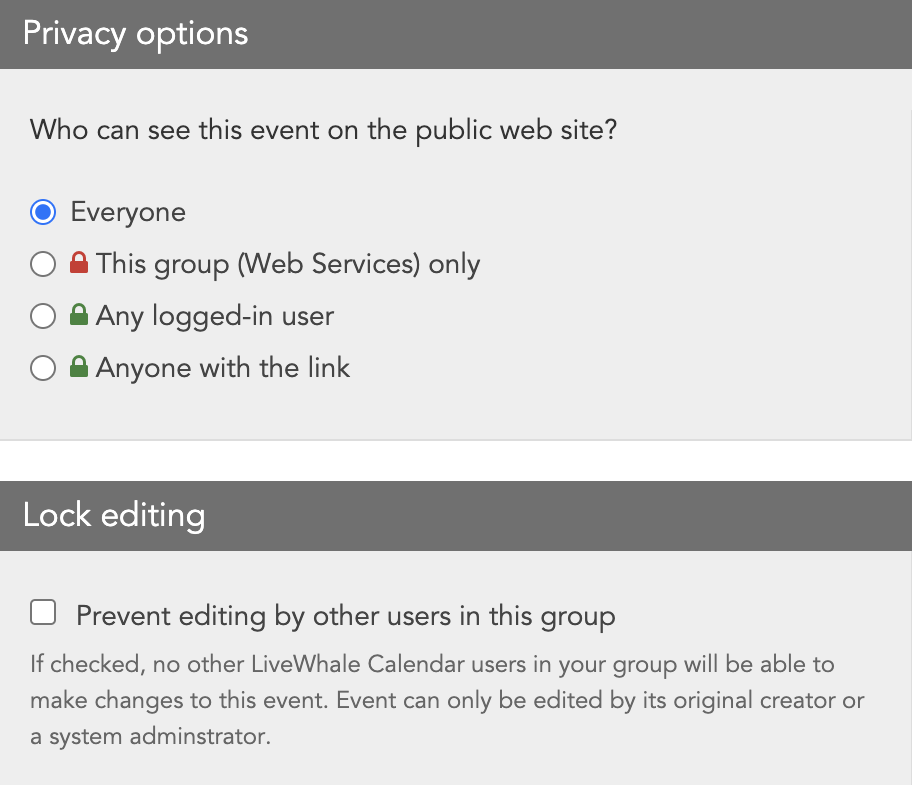
Privacy options affect who can see your events. By default, your events can be seen by any calendar visitor. Note, this is a separate feature from the Live/Hidden selector. Other privacy options include setting your event to be visible to a) only your calendar group, b) any logged-in user to LiveWhale, and c) anyone with the link to your event.
You might use this feature to share events with other colleagues in your event group before sharing them with the general public, or you could choose “anyone with the link” to invite only a select group to attend, for example.
Lock Editing
The Lock editing box, if checked, prevents any other LiveWhale users in your group from making changes to your event. Only the event creator or an ITS system administrator can make changes.
Save Your Event
Once you have made your changes, remember to click ‘Save’ in the bottom right green ribbon of the ‘Add New Event’ window.